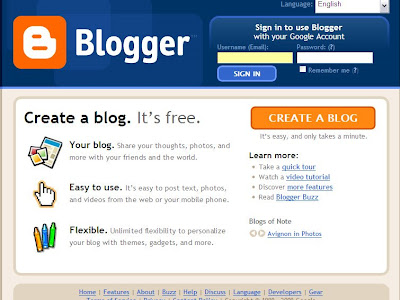
The first thing you will need to do is create an account with Google that’s assuming you don’t already have one.
If you go to the blogger home page just click on ‘Create A Blog’. You will then be invited to create an account.
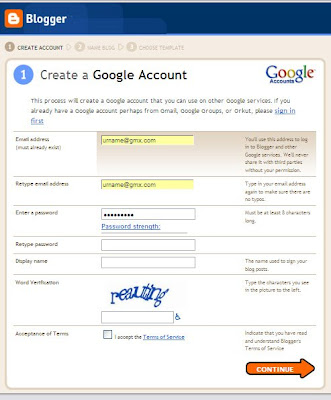
This can be done very easily using your current email address, a suitable password and by agreeing to the terms of service.
The Mechanics
Just enter your email address in the first available box and re-enter it for confirmation in the box below.
You will then need to put in a password that you can remember and again re-enter it in the next box to confirm it.
Decide what name you want displayed on the blog and enter that in the ‘display name’ box.
The final step is to enter the word verification capcha and tick to accept the terms of service which you can read by clicking on the hyperlink.
Once you have done all that you simply click on the orange arrow to continue.
Name your Blog
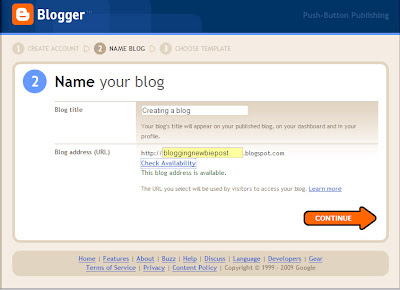
Now all you need to do is give your blog a title and a unique URL address.
Ideally if you want to get traffic (visitors) to your blog then you will enter a title that is likely to be used as a search enquiry in the search engines and in the perfect world you can use that as part of your URL address as well.
Once you have entered your URL choice you can click on ‘check availability’ and you will then be told whether your choice is available or not. Very often it isn’t and you have to find an alternative through trial and error, or you can choose one of the options Google advises is available.
When you get the all clear just click on the orange ‘continue’ arrow.
src="http://pagead2.googlesyndication.com/pagead/show_ads.js">
 Template Selection
You will now be presented with a number of different standard templates that are available. You can preview them before you choose and you can change colours and, if you think you have made the wrong choice, you can change the complete template even after you have made several posts. So don’t worry too much about making a mistake, this can all be changed later if needed.
Just pick one you like the look of by clicking on its ‘radio button’ and then click the orange ‘continue’ arrow.
You see I said this was easy, now you will get a screen saying your blog has been set up and you can click on the orange ‘start blogging’ arrow.
 Writing Your First Post
This is the screen you get for creating your post, there are 2 options available ‘compose’ or ‘Edit Html’. If you are completely new to this I would suggest that you use ‘compose’.
It works in a similar way to a word processor, its very simple to use to put in your text, photos, videos and hyperlinks.
You will also notice a box at the bottom for labels, this is how you can categorise your post. Whatever you put in the label box will be the post category e.g. ‘Holiday France’ might be one and another could be ‘London Trip’. When you have a lot of posts you will understand why you need to categorise them.
As you write your post the system will automatically save for you as you go along and when you are ready to Publish you simply click on ‘Publish Post’ and you will be live on the Internet. Don’t forget to include a suitable title and your label before you publish.
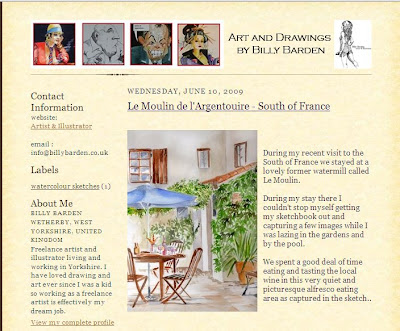
But that is basically it and your post could look something like this.
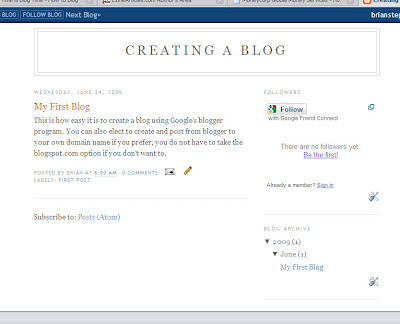
That is how to very basically set up and post your first blog using Google’s Blogger package, there are lots of options within the program to add in widgets, edit your settings and change the layout to suit your requirements.
You can change colours,move the layout around, change your template and monetize your blog to include Adsense adverts very easily.
But for now though I will leave you to experiment yourself a little bit and get used to the software. I will put a few instructions together in a later post on how to edit and change posted blogs, some layout changes and adding in a few useful widgets.


